When we bought my current house in 1998 there were a lot of trees right next to my property, but not actually on it. When we first saw the house, they were covered in Wisteria and we thought “how lovely”. Unfortunately, when the Wisteria stopped blooming, we saw that the trees we dead. Worried that they might fall onto our property we informed the owner and he had them cut down.
Although the wisteria grew back it no longer bloomed and I saw no more wisteria on my property…until this year. I wondered why they’ve suddenly started to bloom again so I looked it up. This is what I found:
Why Does My Wisteria Not Flower?
There are a few common reasons why wisteria blooms don’t open, but they all point to the same thing — bud injury at critical development points. Severely damaged flower buds won’t open; instead, they usually dry up and fall off the plant. Damage can be caused by a variety of environmental problems or very tiny pests called thrips. If your wisteria has bloomed successfully in years past, thrips or uncontrollable weather patterns are most likely causing bud blast and your plant may perform just fine in future seasons. Once you’ve checked for signs of thrips, including black spots of feces on plant materials, deformed buds, or brown streaks on the petals of any flowers that did manage to open, resuming normal care may be all that it takes to induce blooming next season.
How to Get Wisteria Flowers to Open Up
When you have buds on wisteria not opening, there’s very little you can do to force them open. This year’s flowers are probably going to be a loss, but you can do more to ensure that the future buds produce beautiful blooms. If your plant has never successfully bloomed, look at the conditions where it’s growing — wisteria needs full sun, good drainage, and a light application of fertilizer in the fall, as well as heavy pruning in the spring after the other wisteria plants have finished blooming. Late frosts and improper summer watering can interfere with proper bud formation. Frozen flower buds will fall off as spring approaches. Late summer is the time when flower buds are initiated by wisteria; if you skimp on the watering during this season, you may be inadvertently hindering the proper development of future flowers. Above all else, watch the use of nitrogen fertilizers. Nitrogen has its place, but in flowering plants it often produces aggressive vegetative growth at the expense of flowers and buds. The addition of phosphorus, like bone meal, can normally help offset this.
Of course I do none these things. Maybe the “thrips” have disappeared? Maybe the winters have been rather mild? Who knows?
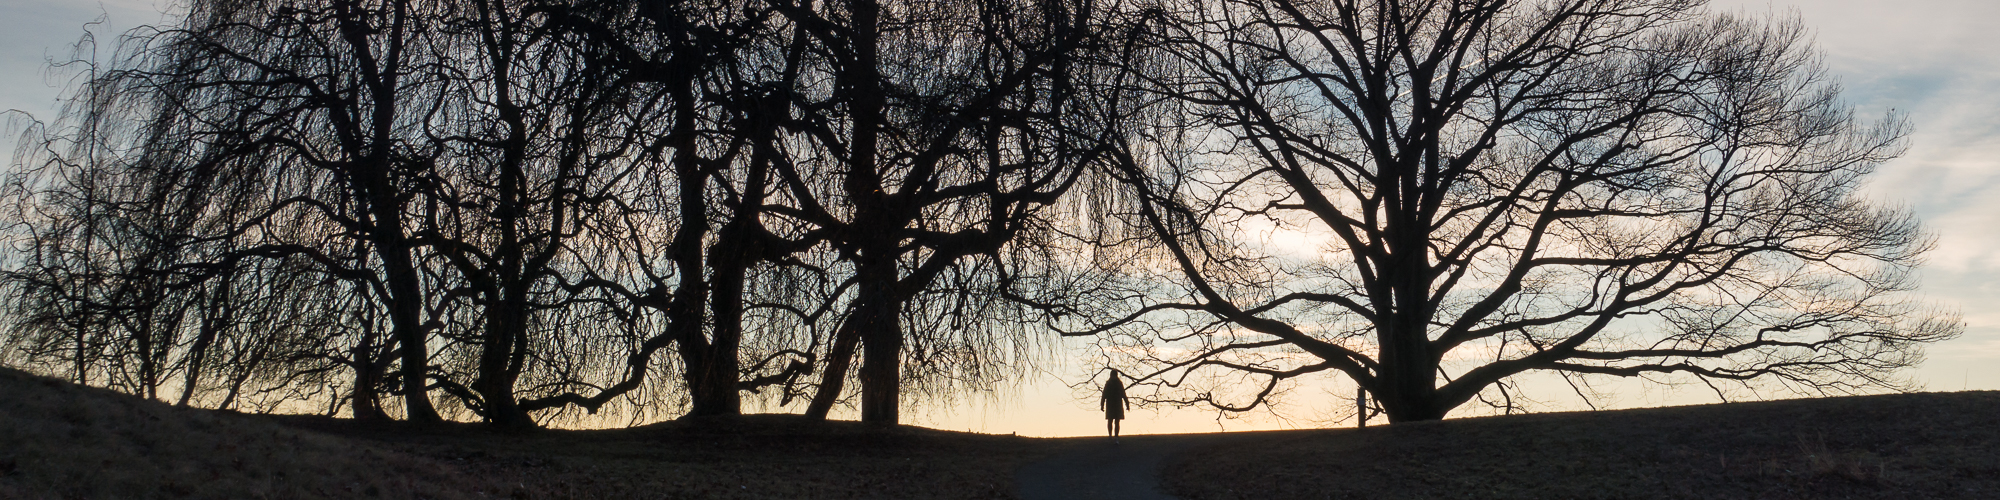
Taken with a Nikon D800 and Nikon AF Nikkor70-300mm f4-5.6G